The search for an alternate source of internet began with an extended downtime on my regular internet connection. The internet folks at ACT fibernet somehow managed to find a switch replacement on their end, a problematic affair for > 3 days. That’s a topic for another day.
We all know what complications one goes through without the internet, especially with the Covid 19 induced Work From Home’s. I had another problem steaming from my affliation with internet connected devices at home. The first internet connected bulb I bought was now rendered useless. Now, it so happened that the light was turned off (on the app, with the physical switch turned on), when my home internet went awry. Given the way these bulb’s function, I was unable to turn it on without first somehow connecting the bulb to the internet. Granted, the device could have been reset, but that defeat’s the grandeur of living with a smart blub.
Thus began my search for a jugaad. I had an ASUS RT-AC59U router and a first gen Raspberry Pi B+ lying around at home. What I managed to tie together, must also be useful with any other pair of router or Raspberry Pi.
The ASUS RT-AC59U support Dual WAN. Meaning, you can have a primary source for your internet (WAN), along with a secondary source to fall back on, in case the first happens to have some issues. The plan was to put the secondary WAN to use, with the 4G connection on a mobile phone. A simpler solution would have been to plug in the phone to the router over USB, but my router unfortunately did not support 3G / 4G connections.
The Raspberry Pi had a plain old install of Raspbian, and was gathering dust in a corner. Here’s how I put that to use as a bridge between the phone and the router, and the rest of my home.
First, I installed the Bridge-Utils on the RPi,
sudo apt-get install bridge-utils
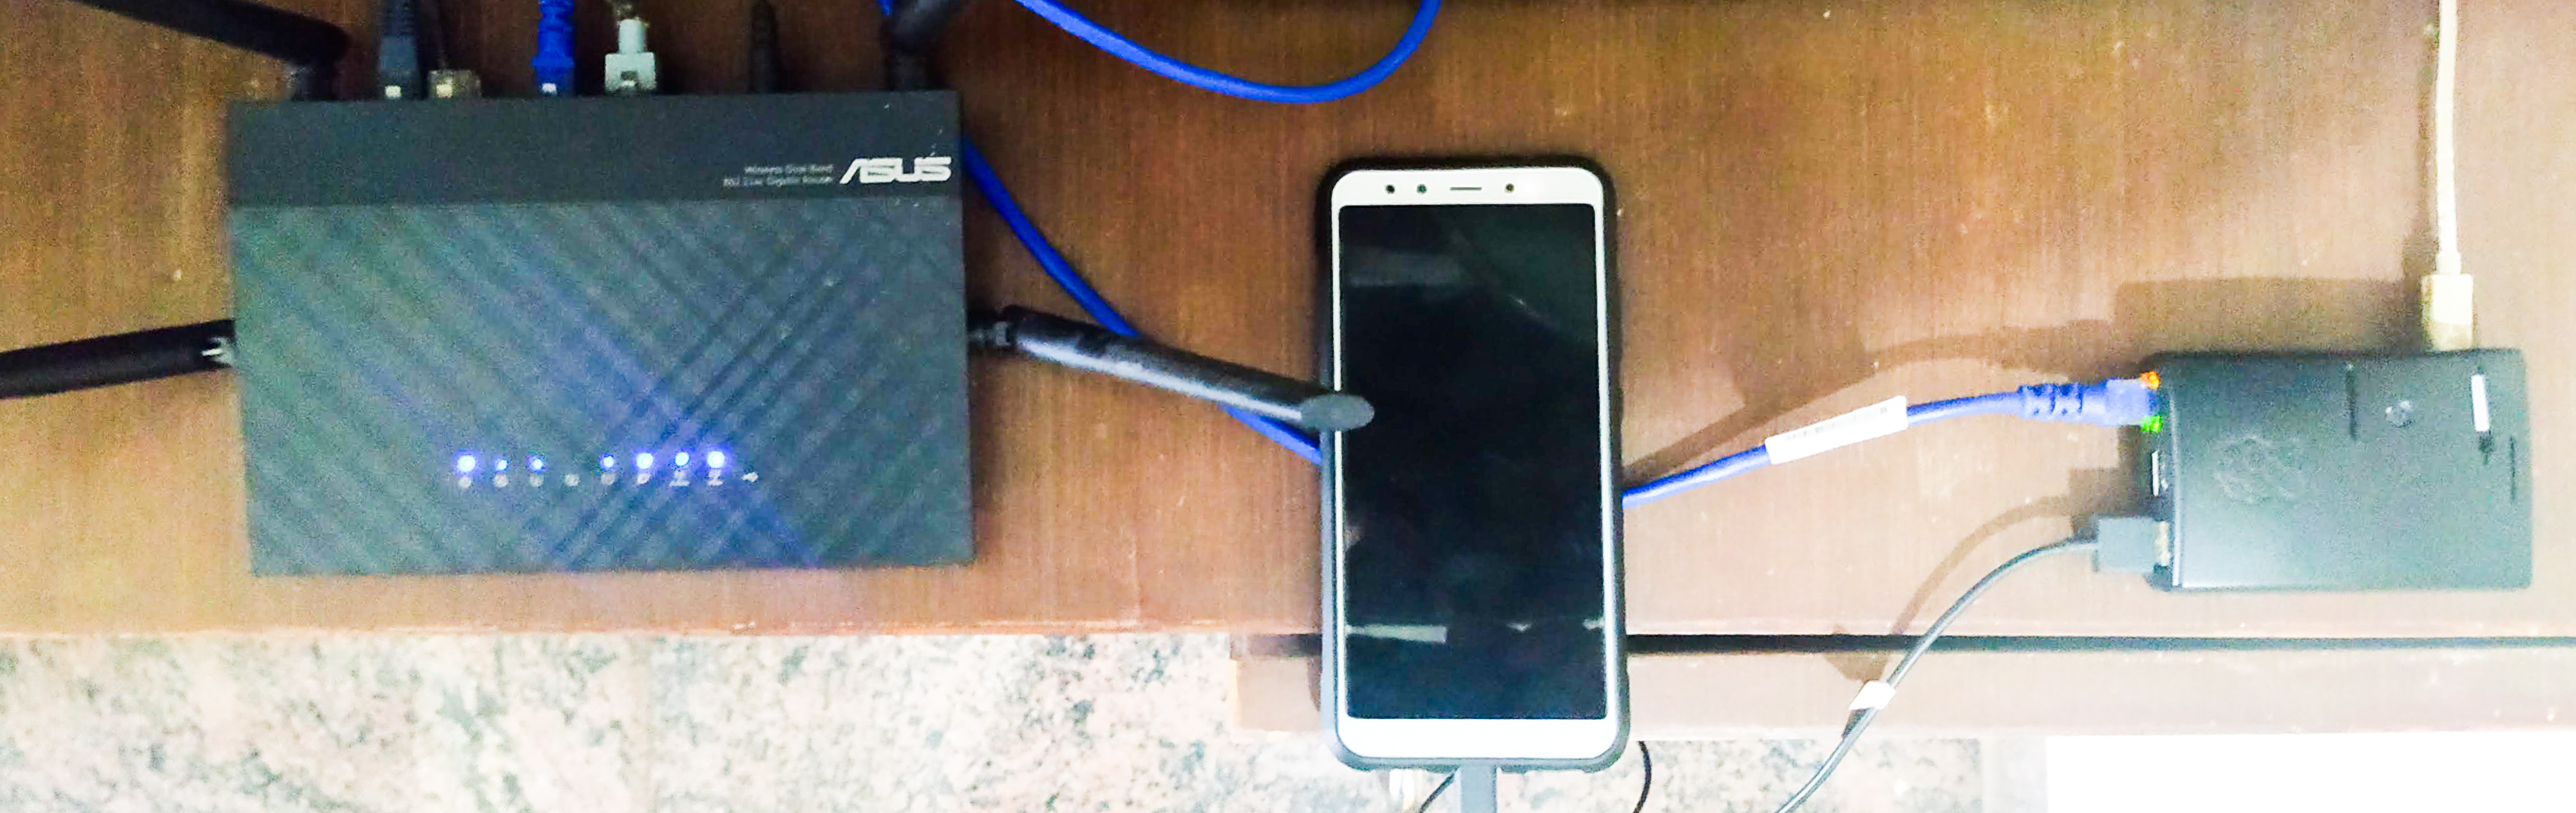
Next was to plugin the phone via a USB cable to the RPi, and the RPi via a Ethernet cable to my laptop. Now, the moment USB cable is plugged in, the (Android) phone must begin to charge, and a notification must pop up. Switch over from the “charge only” setting to the “USB Tethering” setting at this point.
Next, to setup the Bridge Configurations.
sudo brctl addbr secondarywan
sudo brctl addif secondarywan eth0
sudo brctl addif secondarywan usb0
sudo brctl stp secondarywan on
sudo ifconfig secondarywan up
After a minute or so, a notification must pop up on the (Windows) laptop with regard to the newly detected network. The rest of the internet must be accessible on the laptop at this point. Once we verify this connection is stable, we proceed to make these configuration more non-interventional.
Save the above commands as a shell script somewhere on the RPi. In my case, it was at /opt/bridgeconfig.sh. We also need a sudo chmod +x /opt/bridgeconfig.sh.
#!/bin/bash

brctl addbr secondarywan
brctl addif secondarywan eth0
brctl addif secondarywan usb0
brctl stp secondarywan on
ifconfig secondarywan up
Next we ensure this script gets executed on RPi startup. Add the following line to /etc/rc.local
sudo /opt/bridgeconfig.sh
Now all that is required is to shutdown the RPi, and setup our router. The secondary WAN setup is pretty straightforward on the Asus RT-AC59U, but here is the snapshot of my configs.
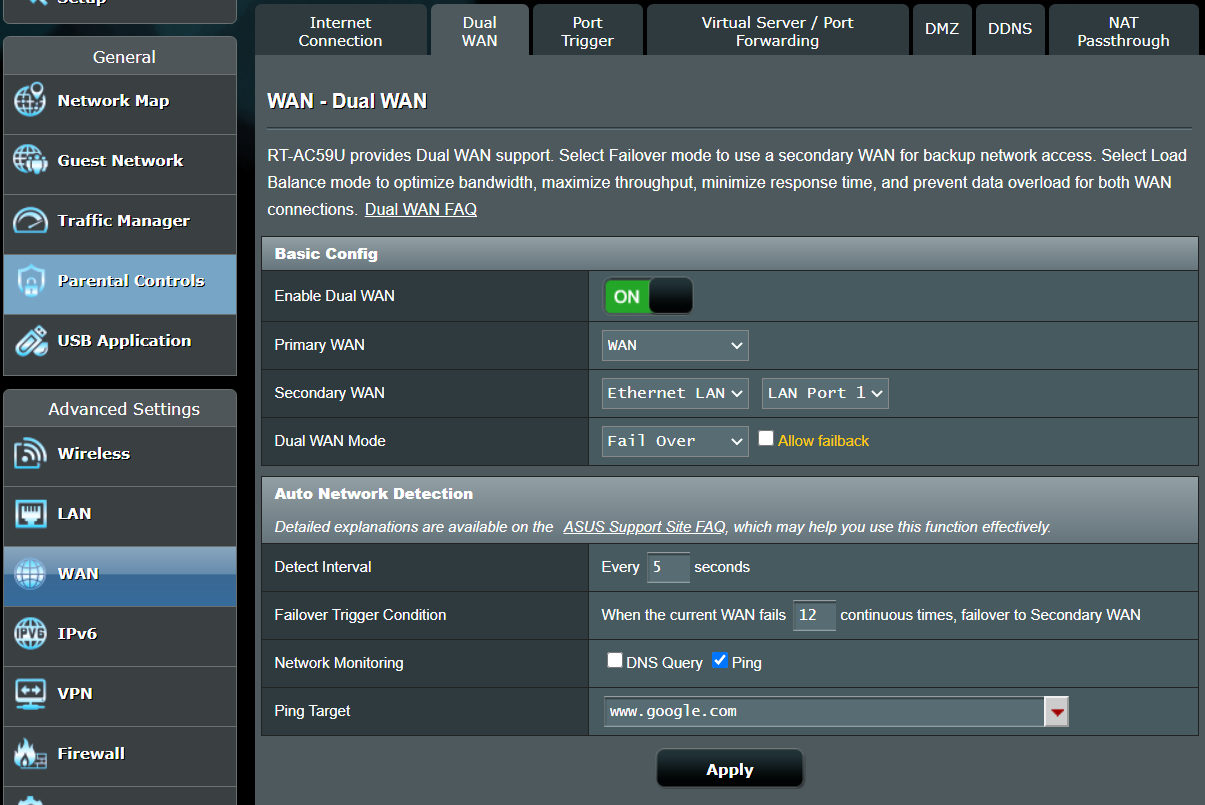
Atleast on my router, no other configurations were required. I was able to connect the ethernet cable from RPi to LAN 1 port on the router, switch on the RPi, and voila, in a minute or two, the router made me smile.
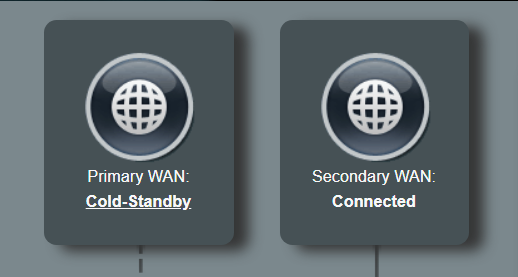
I got a decent, stable 8 MBPS on the Vodafone (Ah, Vi) connection. I still had to switch over to my (other) phone for all the bandwidth hungry slack calls, but atleast this allowed all my internet connected devices to spring back to life. And yeah, it also brought back my blog to life after 17 long months.
Update 20th Aug 2021
To top it up, here’s a small script written to alert me when one of the WAN connections go offline on the ASUS Router – https://github.com/immanuelnoel/asuswrt-api
Hope the article add’s one new soul to the RPi community.